Your First Downhill Skiing Trip
What You’ll Need
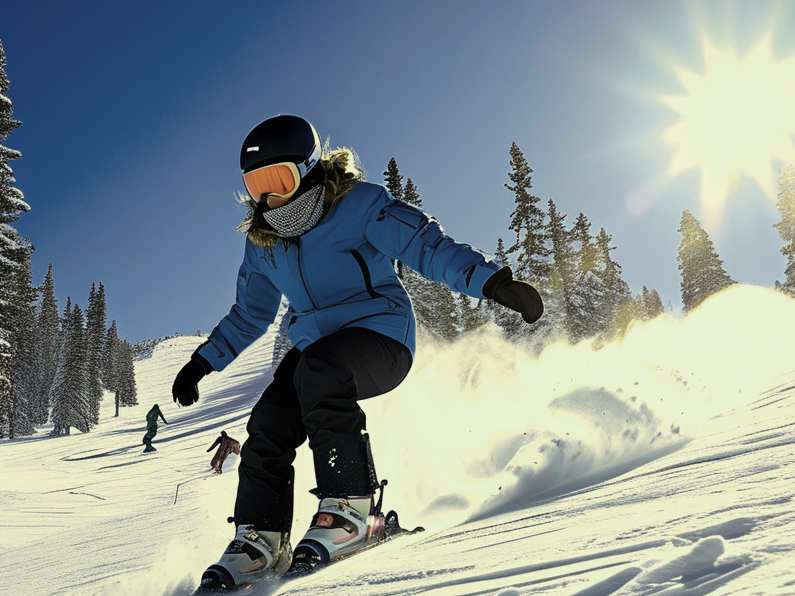
Thinking about cruising down a snowy mountain for your first downhill skiing adventure? Before you picture yourself effortlessly carving your way down pristine trails, let’s talk about what you really need to have a fantastic, safe, and memorable trip. From the right gear to essential tips, we’ve got you covered with everything you need to know to hit the slopes like a pro—or at least look like you know what you’re doing.
The First-Time Ski Gear Checklist
When you’re new to downhill skiing, having the right gear is crucial, not only for your comfort but also for your safety. Here’s your must-have checklist:
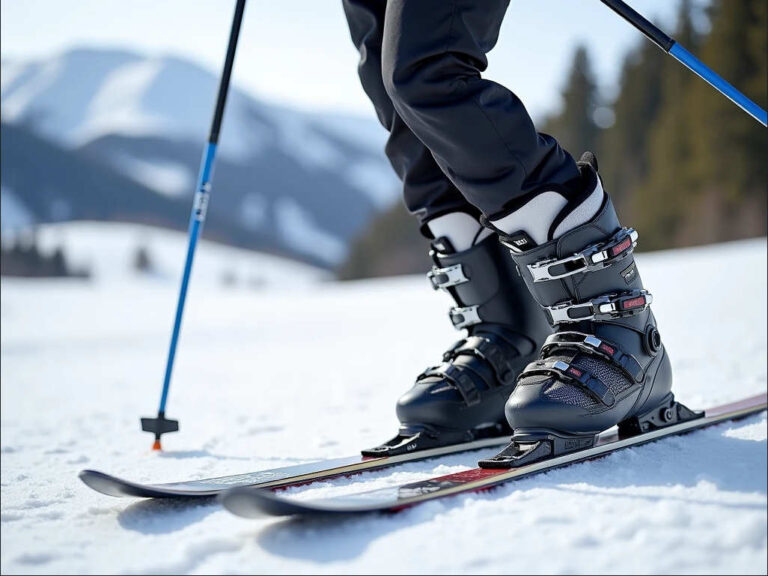
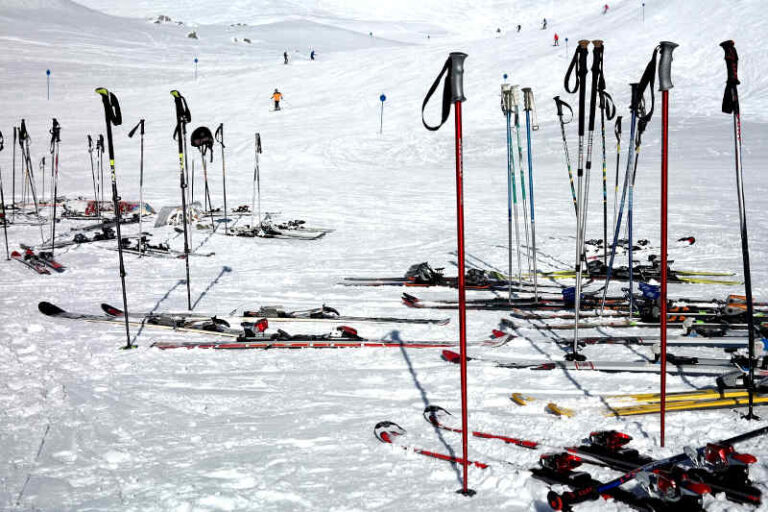
- Skis, Poles, and Bindings
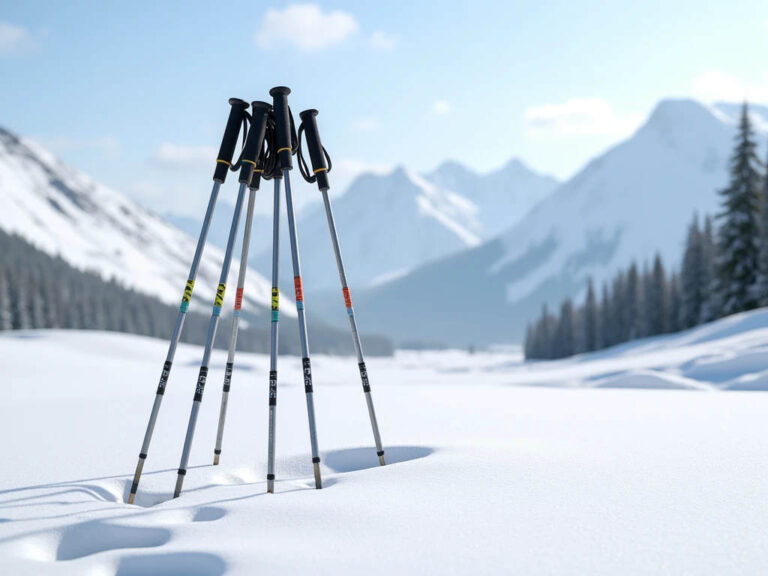
- Your skis and poles should match your height, weight, and skiing level. For beginners, rental shops usually offer softer, more forgiving skis that help you gain control.
- Bindings attach your boots to the skis. Make sure they are adjusted properly for easy release in case of a fall.
- Ski Boots
- Don’t underestimate the importance of well-fitting ski boots! They should be snug but not painful, as poorly fitting boots can ruin your experience. If you rent, work with the technician to get the right size.
- Ski Helmet
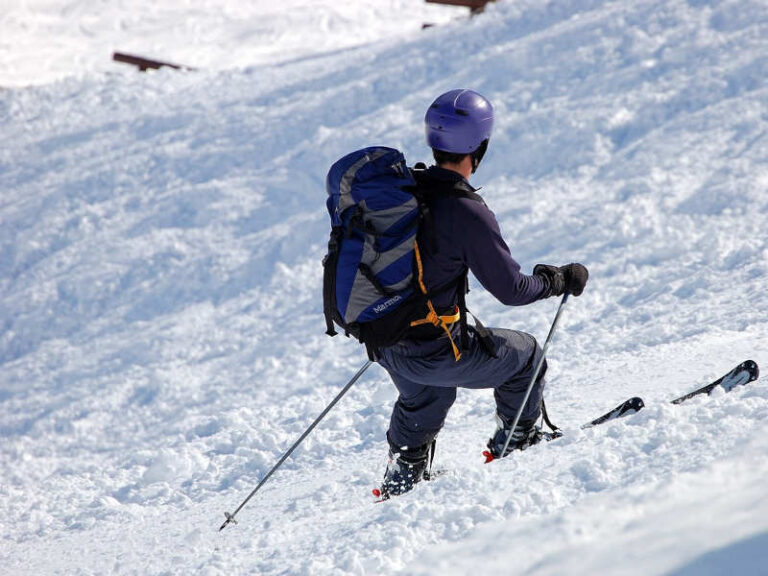
- Safety first! A ski helmet is non-negotiable. Even if you’re taking it slow, accidents happen. Rental helmets are widely available.
- Ski Jacket and Ski Pants
- Waterproof and insulated outerwear will keep you warm and dry. Invest in gear specifically designed for skiing to ensure breathability and flexibility.
- Base and Mid Layers
- Your base layer should be moisture-wicking to keep sweat off your skin. Mid-layers, like fleece or a lightweight down jacket, add warmth without bulk.
- Gloves or Mittens
- Choose waterproof gloves or mittens that allow for good dexterity. Cold fingers can ruin your day fast.
- Ski Socks
- Invest in good quality, knee-high ski socks made from wool or a synthetic blend. Avoid cotton, as it holds moisture and can make your feet cold.
- Goggles
- Goggles are essential to protect your eyes from snow glare, wind, and snow. Get a pair with lenses suited for the conditions you expect.
- Backpack
- A small, lightweight backpack is handy for carrying water, snacks, sunscreen, and extra layers. Make sure it’s ski-friendly with a slim design.
Rent Before You Buy
Since you’re new to the game, renting most of your ski equipment makes sense. Many ski shops and resorts offer rental packages that include everything from skis to goggles. It’s an affordable way to test out the sport before committing to pricey purchases. Renting also allows you to experiment with different styles and brands of gear as you figure out what works best for you.
Take Lessons—Seriously!
You may think you can learn to ski by winging it, but trust us, lessons are worth it. A certified instructor can teach you the basics, like how to balance, stop, and turn. Even a half-day lesson can make a huge difference and give you the confidence to keep going. If possible, book a series of lessons. Remember, it takes time to get good at skiing, so don’t be discouraged if you don’t nail it right away.
Hydration and Nutrition
Skiing is a full-body workout, so it’s important to fuel up properly. Start your day with a hearty breakfast—think oatmeal, eggs, or a smoothie packed with protein. Bring along snacks like trail mix or energy bars to munch on during breaks, and drink plenty of water. Dehydration can sneak up on you, especially at higher altitudes, so keep sipping even if you don’t feel thirsty.
Learn Before You Leap: Instructional Videos
Taking in some of these videos can give you a mental head start.
Sometimes, a visual guide is just what you need. Watching ski tutorials on YouTube can prepare you for what to expect and help you understand techniques before hitting the slopes. Popular channels include:
- Ski Addiction: Known for great tips on beginner skills and beyond. This series is a great place to start
- Stomp It Tutorials: These videos break down techniques into easy-to-follow steps.
- SKNG Ski School: Offers advice on everything from turning to staying safe from beginner to advanced. Check out the getting started and equipment lesson below
Know the Trail Ratings
Understanding trail ratings is key to avoiding unwelcome surprises. Trails are marked with different colors and shapes to indicate difficulty:
- Green Circle: Easy, gentle slopes—perfect for beginners.
- Blue Square: Intermediate trails with steeper terrain.
- Black Diamond: For advanced skiers only, with steep and often ungroomed runs.
Stick to green circles until you feel comfortable with your speed and control. Remember, there’s no shame in taking it slow.
The Art of Falling (Yes, You Will Fall)
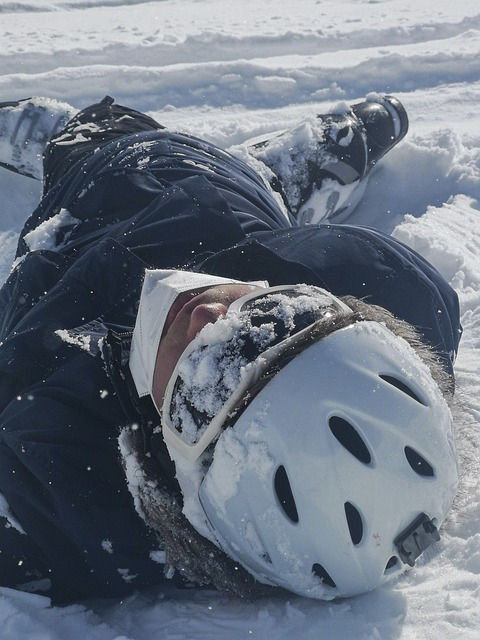
Falling is part of the learning process, so embrace it! Here’s how to do it safely:
- Try to land on your side or buttocks, avoiding twisting motions.
- Keep your limbs relaxed and don’t flail; rigid limbs are more prone to injury.
- Use your hands to push yourself back up, but make sure to stay clear of other skiers when you’re down.
- When getting up be sure that your skis are not pointing downhill or uphill. Point them perpendicular to the slope so you don’t start sliding as soon as you try to get up.
Nervous? You’re Not Alone!
If you feel anxious before your first run, know that it’s completely normal. Most people feel a mix of excitement and nerves. Take deep breaths, start on a gentle slope, and remind yourself that it’s okay to go slow. Focus on enjoying the experience, even if you don’t glide down the mountain gracefully just yet.
Sunscreen: The Overlooked Essential
Snow reflects UV rays, making sunburn a real risk even on cloudy days. If you’re skiing in the spring or under a blazing sun, slather on SPF 30 or higher. Pay extra attention to your face and neck, and don’t forget lip balm with sun protection.
Ski With Friends
Just like hiking, it’s safer and more fun to ski with friends or family. If something goes wrong, you’ll have someone there to help. Plus, shared experiences make for better memories and plenty of laughs—especially when someone (probably you) has an epic tumble.
Prepare Physically and Pace Yourself
Downhill skiing engages muscles you might not be used to using, so it’s smart to do some light training before your trip. Activities like squats, lunges, and core work can help you get in shape. Don’t overdo it on your first day; ski for a few hours, then take a break. Your muscles will thank you the next morning.
Lift Ticket Tips: How to Save Money
Lift tickets can be one of the most expensive parts of a ski trip, but there are ways to save:
- Book in Advance: Most resorts offer discounts for buying tickets online ahead of time.
- Go Mid-Week: Weekends are more expensive, so if you can, ski on a weekday.
- Check for Discounts: Look for student, military, or group discounts. Some resorts also offer reduced rates for night skiing.
- Consider a Ski Pass: If you plan to ski multiple days or at different resorts, passes like the Ikon or Epic Pass can save you money.
Wrapping It Up
Your first downhill skiing trip is bound to be an adventure full of excitement, challenge, and probably a few gentle wipeouts. By getting the right gear, taking lessons, and staying safe, you’ll set yourself up for a great experience. So grab your rental skis, pack your goggles, and get ready to shred—or at least slide—down those snowy slopes!

by: Blair Fontana
A versatile freelance content creator known for her engaging writing style and diverse range of interests. Blair has carved out a niche in lifestyle writing, captivating her audience with insightful articles… read more


